How To Curl Hair With Flat Iron: Your Guide To Gorgeous Waves And Bouncy Curls
Have you ever looked at your flat iron, that trusty tool for making your hair straight and smooth, and wondered if it could do more? Well, it absolutely can, and this is truly a revelation for many. For generations, people have been trying to get the perfect curl, and while curling irons are certainly a common sight in many styling routines, the amazing flexibility of the flat iron often goes unnoticed. This tool, which seems pretty simple and is mostly made for straightening, actually has a remarkable ability to create all sorts of curl styles, from gentle waves to lively ringlets. You don't need a separate curling wand or hot rollers to get those dream waves you've been wanting, and that's pretty cool, isn't it?
It's a common thought that you need a specific curling iron to get those beautiful, spiraling locks. But, as a matter of fact, you can use your hair straightener as, gasp, a curling iron for everything from beach waves to tight, glamorous curls. If you want curls but don’t have a curling iron, don’t head out to the store just yet. With a few simple tricks, you can have bouncy ringlets or beachy waves in no time at all, so that's a nice saving, isn't it?
This guide will show you how to curl hair with a flat iron, giving you stunning hairstyles. We'll learn easy hairstyle tips to achieve beautiful curls with your flat iron, and we'll even cover how to create texture, volume, and curl with only a flat iron, drawing on wisdom from celebrity hairstylists. Mastering this technique takes some practice and a good grasp of the right ways to do things. Here, we give you detailed tips to help you get those perfect results, and it's quite exciting to think about the possibilities, really.
Table of Contents
- Getting Ready: The Essential Prep for Perfect Flat Iron Curls
- Choosing the Right Flat Iron for Curling
- Different Ways to Curl Your Hair with a Flat Iron
- Expert Tips for Mastering Your Flat Iron Curls
- Frequently Asked Questions About Flat Iron Curls
Getting Ready: The Essential Prep for Perfect Flat Iron Curls
Curling your hair with a flat iron really comes down to how you get ready and using the right method. Before you even think about heating up your iron, there are a few important steps to make sure your hair is ready for its transformation. This groundwork is pretty crucial for getting those perfect curls, you know.
To start, it's always a good idea to brush out your hair thoroughly. This helps get rid of any tangles or knots, making sure the flat iron can glide smoothly through your strands. If there are knots, the iron might snag, which can damage your hair or make the curl look uneven, and we definitely don't want that, do we?
Next, and this is a really big one, you absolutely need to apply a heat protectant. This step is non-negotiable, honestly. Heat protectant creates a barrier between your hair and the hot plates of the iron, helping to prevent damage like dryness, breakage, and split ends. Think of it as putting on sunscreen for your hair before it goes out in the sun. You want to make sure every strand gets a little bit of this protection, so spray it evenly from roots to ends, and that's just a smart move, really.
After applying your heat protectant, you might want to let your hair air dry a bit if it's damp, or gently blow-dry it until it's completely dry. Using a hot iron on wet or even slightly damp hair can cause significant damage, almost like boiling the water inside the hair shaft, and that's not good for anyone, is it?
Finally, before you begin styling, sectioning your hair is a game-changer. It makes the whole process much more manageable and ensures that every part of your hair gets the attention it needs. You can divide your hair into smaller, more workable sections using clips. This allows for a more consistent curl pattern throughout your head, which is pretty important for a polished look, you know.
Choosing the Right Flat Iron for Curling
While many flat irons can create curls, some are definitely better suited for the job than others. The shape and size of your flat iron plates play a pretty big role in the kind of curl you can achieve. This is something to consider if you're looking to buy a new one, or just trying to get the most out of the one you have, so it's worth thinking about, actually.
For curling, it's generally recommended that your flat iron plates are narrow enough to do the job effectively. A flat iron with plates that are too wide might make it harder to wrap your hair around the barrel or get a tight enough grip for a defined curl. Irons with rounded edges are also a bit of a bonus, as they help prevent crimping or harsh lines in your curls, allowing for a smoother, more natural-looking bend. So, that's something to keep in mind, isn't it?
The material of the plates also matters. Ceramic plates tend to distribute heat very evenly, which helps reduce hot spots and potential damage. Tourmaline-infused plates can add extra shine and reduce frizz, which is always a nice touch. Titanium plates heat up very quickly and maintain a consistent high temperature, making them good for thicker or coarser hair, but they do require a bit more caution due to their intense heat. You know, picking the right tool can make all the difference, so it's worth considering these things.
Adjustable temperature settings are also pretty essential. Different hair types need different heat levels. Fine or damaged hair typically needs lower temperatures to avoid further harm, while thicker or resistant hair might require a higher setting to hold a curl. Being able to control the heat means you can tailor the styling process to your specific hair needs, which is a very good thing, really. Learn more about hair care tips on our site.
Different Ways to Curl Your Hair with a Flat Iron
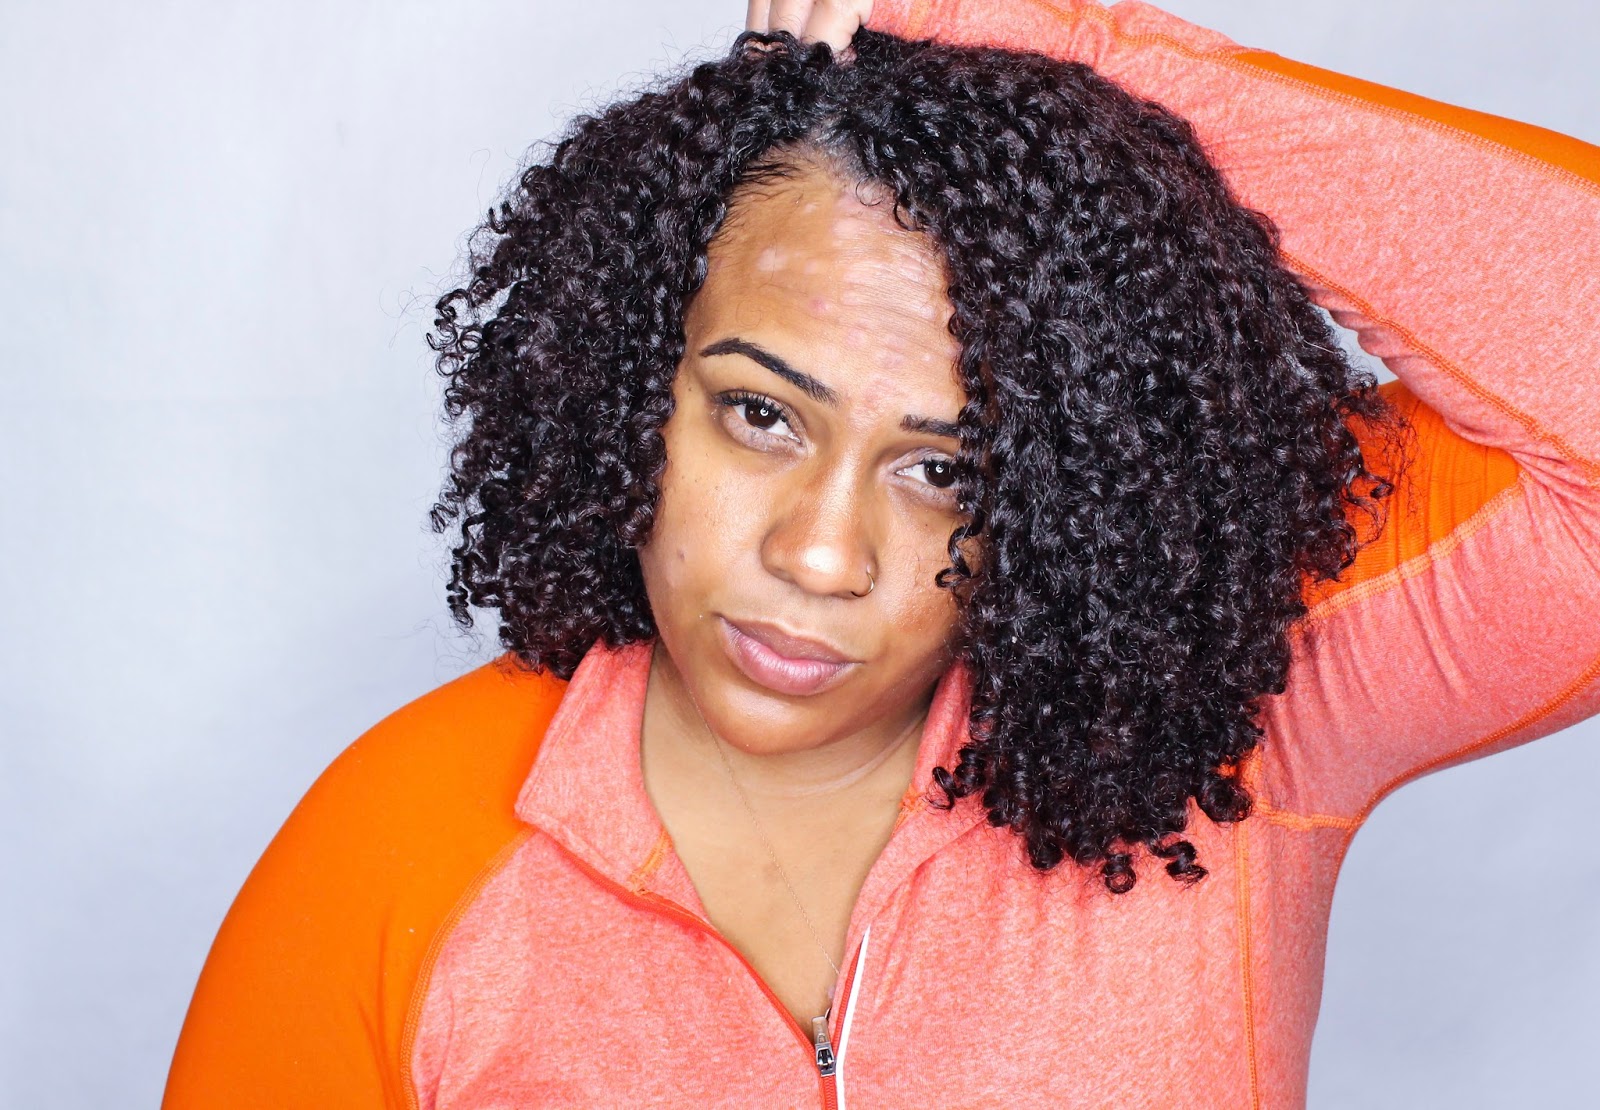
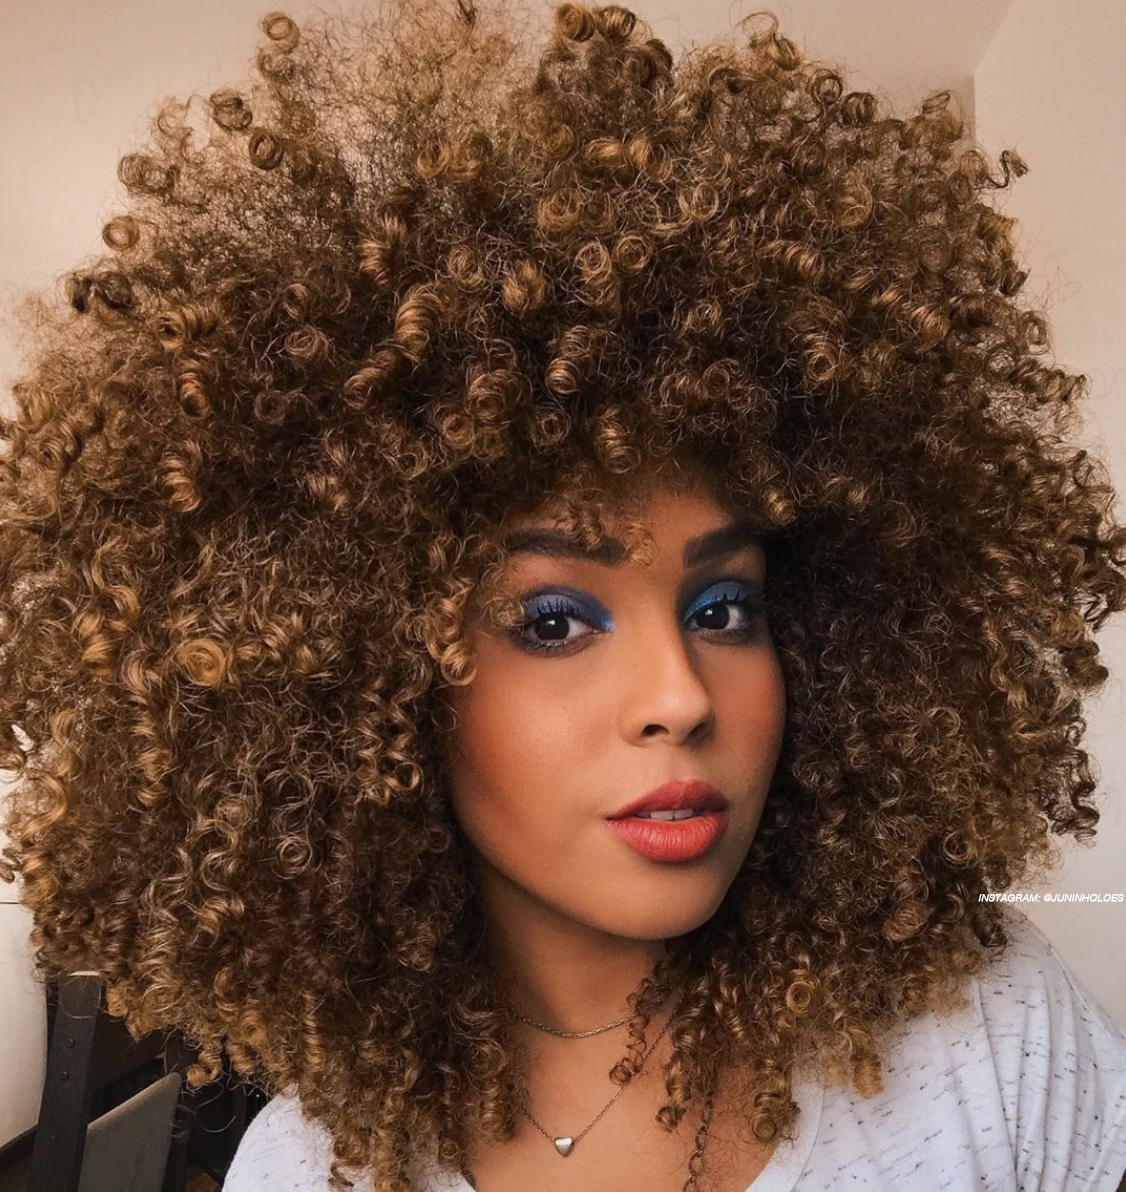
You can use your flat iron to create a variety of curl styles, from casual beachy waves to elegant, polished curls, or even bouncy ringlets. We're going to explore different techniques to create bouncy, loose, or beachy curls with a flat iron. This is where the real fun begins, so pay attention, okay?
Beachy Waves Without Twisting
One popular way to curl hair with a flat iron is to create those effortlessly cool beachy waves. This method, taught by celebrity hairstylists, allows you to get that relaxed, wavy look without having to twist your hair around the iron in a complicated way. It's a pretty straightforward approach, actually.
First, take a section of your hair, probably about one to two inches wide. The size of the section will impact how loose or tight your wave is; smaller sections tend to give a more defined wave, while larger ones create a softer, more relaxed bend. Hold the flat iron at a slight angle, maybe about 45 degrees, and clamp it down on the hair section a few inches from your roots. You don't want to start right at the scalp, as that can make the curl look unnatural, you know.
Now, here's the trick: once clamped, gently pull the iron down the hair shaft while rotating your wrist a half-turn away from your face. As you continue to pull down, rotate your wrist back the other way, then rotate it away again. It's almost like creating an "S" shape with the iron as you glide it down. The key is to keep the movement fluid and continuous, not stopping at any point, as that can create creases in your hair. This method helps create a natural-looking wave that isn't too uniform, which is pretty much the definition of a beachy wave, isn't it?
Release the iron once you reach the ends of the hair section. You can leave the very ends straight for a more modern, undone look, which is quite popular right now. Repeat this process all over your head, making sure to alternate the direction of your rotations for a more organic, less "perfect" wave pattern. This really helps achieve that effortless vibe, you know.
Polished Curls
If you're aiming for a more refined, classic curl, the flat iron can certainly deliver that too. This technique gives you a smooth, uniform curl that looks a bit more put-together than the beachy wave. It’s a good choice for special occasions or when you want a more styled appearance, so it's a versatile skill to have, really.
Start with a section of hair, similar in size to the beachy wave method, perhaps one to one and a half inches wide. Clamp the flat iron near the roots, holding it horizontally or at a slight downward angle. Now, instead of rotating back and forth, you'll rotate the iron a full 180 degrees, so the top plate is now facing downwards. This creates a full loop around the iron, in a way.
Once you've rotated the iron, slowly and steadily pull it down the hair shaft, maintaining that 180-degree rotation. The slower you pull, the tighter the curl will be. Keep the pressure consistent, and try not to stop or hesitate, as this can leave crimps in your curl. The hair should glide smoothly over the plates as you pull, forming a beautiful, consistent spiral. It takes a little bit of coordination, but it's worth it, honestly.
When you reach the end of the hair section, gently release the iron. You'll see a lovely, bouncy curl. For a more cohesive look, curl all sections in the same direction, or alternate directions for a bit more volume and separation. After curling each section, you might want to gently hold the curl in your palm for a few seconds as it cools down; this helps it set and last longer, which is a pretty neat trick, you know.
Bouncy Ringlets or Wavy Curls
You can use your flat iron to create ringlets or wavy curls, too. This method is great for achieving a more defined, springy curl, almost like what you'd get from a traditional curling iron, but with the versatility of your straightener. It's quite surprising how much this tool can do, really.
For ringlets, you'll want to work with smaller sections of hair, probably about half an inch to an inch wide. The smaller the section, the tighter and more defined your ringlet will be. Clamp the flat iron near the root of the hair section. This time, you're going to wrap the hair around the outside of the iron, almost like you would with a curling wand. So, you clamp, then wrap the hair around the top plate, and then bring it down and around the bottom plate, creating a full spiral around the barrel of the flat iron, in some respects.
Once the hair is wrapped, slowly pull the iron down the length of the hair, keeping the hair wrapped around the plates as you go. This requires a steady hand and a bit of practice to keep the tension even. The hair should smoothly slide off the iron as you pull it through, leaving a beautiful, corkscrew-like curl. It's a bit different from the other methods, so it might take a few tries to get the hang of it, you know.
For a softer, wavier curl that's still quite bouncy, you can use slightly larger sections and perhaps not wrap the hair quite as tightly around the iron. The principle is similar: clamp, wrap, and pull. The speed at which you pull the iron through will also affect the curl's tightness; a slower pull generally results in a tighter curl, while a quicker pull gives a looser wave. This versatility is pretty handy, isn't it?
Expert Tips for Mastering Your Flat Iron Curls
Achieving your dream curls with a flat iron is certainly within reach, and there are many expert tips that can help you along the way. We've got 30 detailed tips to help you achieve perfect results, drawn from the experience of celebrity hairstylists and practical styling knowledge. Following these steps for heat protection, sectioning, rotation, and finishing will help you achieve your desired look, and that's pretty exciting, really.
Preparation is Key
- Always start with completely dry hair. Any moisture can cause steam damage, and we want to avoid that, obviously.
- Brush your hair out thoroughly before you begin. This removes tangles and ensures a smooth glide for the iron.
- Apply a good quality heat protectant generously. This is your hair's shield against heat damage, so don't skip it, okay?
- Section your hair properly. Divide it into manageable parts, starting from the bottom layers and working your way up. This makes the process much less overwhelming.
- Use clips to keep uncurled sections out of the way. This helps you focus on one section at a time, which is pretty helpful, you know.
Iron Selection and Heat Settings
- Ensure your flat iron plates are narrow enough for the job. Plates around 1 inch to 1.25 inches are usually good for most curl types.
- Choose an iron with rounded edges if possible. This helps prevent kinks and creases in your curls, which is a nice detail, really.
- Adjust the heat setting to your hair type. Finer hair needs lower heat (around 250-300°F), while thicker hair might need higher heat (350-400°F). Don't go too high, though, as that can cause damage, you know.
- Test the heat on a small, hidden section of hair first. This helps you find the perfect temperature without risking damage to a visible part of your hair.
Technique and Execution
- Take consistent section sizes. This helps ensure a uniform curl pattern throughout your head, which is pretty important for a balanced look.
- Hold the iron at the right angle. For beachy waves, a 45-degree angle often works well. For more polished curls, a horizontal or slightly downward angle can be better.
- Clamp the iron gently but firmly. You need enough grip to pull the hair through, but not so much that you're pulling or snagging it.
- Rotate your wrist smoothly and continuously. Avoid stopping or pausing the iron as you pull it down the hair shaft, as this can create crimps.
- The speed of your pull affects the curl. A slower pull usually results in a tighter, more defined curl, while a faster pull gives a looser wave. Experiment to find what you like, honestly.
- For beachy waves, alternate the direction of your rotation. This creates a more natural, undone look, which is quite popular these days, you know.
- For polished curls, you might want to curl all sections in the same direction for a more uniform appearance.
- Leave the ends out for a more modern, relaxed look. This is a common trick for beachy waves, and it gives a nice, casual vibe.
- Don't over-curl. One pass with the iron is usually enough per section. Going over the same section multiple times can cause unnecessary heat damage.
- Allow curls to cool before touching them. This is a very important step! As the hair cools, the curl sets, making it last much longer.
Finishing Touches
- Once your curls are cool, gently separate them with your fingers. Avoid brushing them out immediately, as this can make them fall flat.
- For more volume, you can gently backcomb at the roots of some sections.
- Apply a light-hold hairspray to set your curls. Don't use too much, or your hair might feel stiff or crunchy, and we don't want that, do we?
- For extra shine, a light mist of shine spray or serum can be applied to the finished curls.
- If you want more texture, a texturizing spray can be used after curling.
- Watch Kayley Melissa's hair tutorial with products, tips, and examples for visual guidance. Seeing it done can really help, you know.
- Practice makes perfect. Don't get discouraged if your first few attempts aren't exactly what you hoped for. Keep trying, and you'll get better, that's just how it works, really.
- Consider using a mirror to see the back sections of your hair. This helps ensure you don't miss any spots and get an even curl all around.
- If your curls are falling flat, try using a stronger hold hairspray or re-evaluating your heat setting.
- Clean your flat iron regularly. Product buildup on the plates can affect its performance and even damage your hair.
- Protect your hair overnight. A silk pillowcase or loose bun can help preserve your curls for the next day.
- Learn how to create beachy waves or polished curls with a flat iron without twisting your hair. This is a key skill, and it's quite liberating, honestly.
- Follow the steps to choose the right iron, protect your hair, section it, and finish with hairspray. These are the foundations for success, you know.
- You do not need a curling iron for a curly hair look. Your flat iron is a versatile tool, capable of so much more than just straightening.
- See an easy tutorial on 7 hair curling techniques for perfect loose curls and get expert tips on how to curl your hair with a wand and a straightener. There are many ways to approach this, and exploring them can be fun.
- Find out the difference between flat irons and curling irons in this article, which helps you understand why your flat iron is so versatile.
Frequently Asked Questions About Flat Iron Curls
Many people have questions about using a flat iron for curling, and that's pretty normal. Here are some common queries that pop up, so you can feel more confident about trying this technique, you know.
Can you really curl hair with a flat iron?
Absolutely, yes! It's a very effective way to create various curl types, from loose waves to tight ringlets. The flat iron's design, especially those with rounded edges, allows it to function very much like a curling iron, just with a different technique. Many celebrity hairstylists even use this method regularly, so it's a legitimate and widely used approach, honestly.
What's the best flat iron for curling hair?
While most flat irons can curl, the ones that work best typically have narrower plates, usually around 1 to 1.25 inches wide. Flat irons with rounded edges are also very helpful, as they prevent those sharp creases that can sometimes appear with square-edged irons. Ceramic or tourmaline plates are often preferred for their even heat distribution and ability to reduce frizz, which is pretty good for your hair, you know. You can link to this page about heat protectants, which also talks about tool choices.
How do I make flat iron curls last?
Making your flat iron curls last really comes down to proper preparation and finishing. Always start with a good heat protectant, as this not only shields your hair but also provides a base for the curl to hold. After curling each section, let the curl cool completely before touching it; this allows the hair to set in its new shape. Finally, a light mist of hairspray will help lock the curls in place without making them stiff. Avoiding excessive brushing after curling also helps maintain the curl's integrity, which is a very important step, really.

How To Get Defined Natural Curls | LUS Brands – LUS Brands
How to Get Curl Definition for 5+ Days with Urban Hydration Naturals
Curl Patterns 101 – What’s Your Curl Type? - Keune EducationKeune Education

