Drawing Your Phone: Simple Steps For Everyone To Create A Digital Pal
Have you ever looked at your phone and thought, "I could draw that"? Well, you absolutely can! Getting into phone drawing is a fun way to practice your art skills, no matter if you are just starting out or have been sketching for years. It's a subject we see every single day, which means you already know what it looks like, making it a surprisingly good place to begin your artistic journey, you know?
This kind of drawing is really for anyone who likes to put pencil to paper, or stylus to screen, and wants to make something familiar. People who enjoy learning new things, or maybe those who just want a calm way to spend some time, often find joy in it. A lot of folks want to make something that looks real, or perhaps they just want to get the basic shape down.
The good news is that learning how to do a phone drawing is a straightforward process, and it can be quite rewarding. We will show you how to draw a smartphone using easy shapes and lines, just like our own learning materials suggest. You will see that, with some guidance, you can make a very nice looking picture of a phone, pretty much.
Table of Contents
- Getting Started with Your Phone Drawing
- The Basic Shapes for Your Phone
- Details That Make It Real
- Bringing Your Drawing to Life with Color
- Making Your Phone Drawing Look More Real
- Tips for All Skill Levels
- Frequently Asked Questions About Phone Drawing
- Your Next Steps in Drawing
Getting Started with Your Phone Drawing
Before you even make your first mark, it is good to have everything ready. This helps you stay focused and enjoy the process without interruptions. Knowing what you need and how to set up your area can make a big difference, you know?
What You Will Need
To create your own mobile phone sketch, you will need a few simple things. A pencil is a good start for making your lines. An eraser is also very helpful for fixing any mistakes or making changes as you go, basically.
For adding color and making things look more complete, a few brushes and paints can be used. If you are working digitally, your drawing tablet and software will have these tools built in, which is pretty convenient, actually.
The materials do not need to be fancy or expensive. Just basic supplies will let you get started and learn the steps. You can always get more advanced tools later, in a way.
Setting Up Your Space
Find a comfortable spot where you have good light. A well-lit area helps you see your lines clearly and makes it easier to work on details. Make sure you have enough room for your paper and your drawing tools, you know?
A flat surface is also a must. This keeps your paper from moving around and gives you a steady hand. Having your phone nearby as a real-life example can be very helpful, too it's almost like having a model right there.
The Basic Shapes for Your Phone
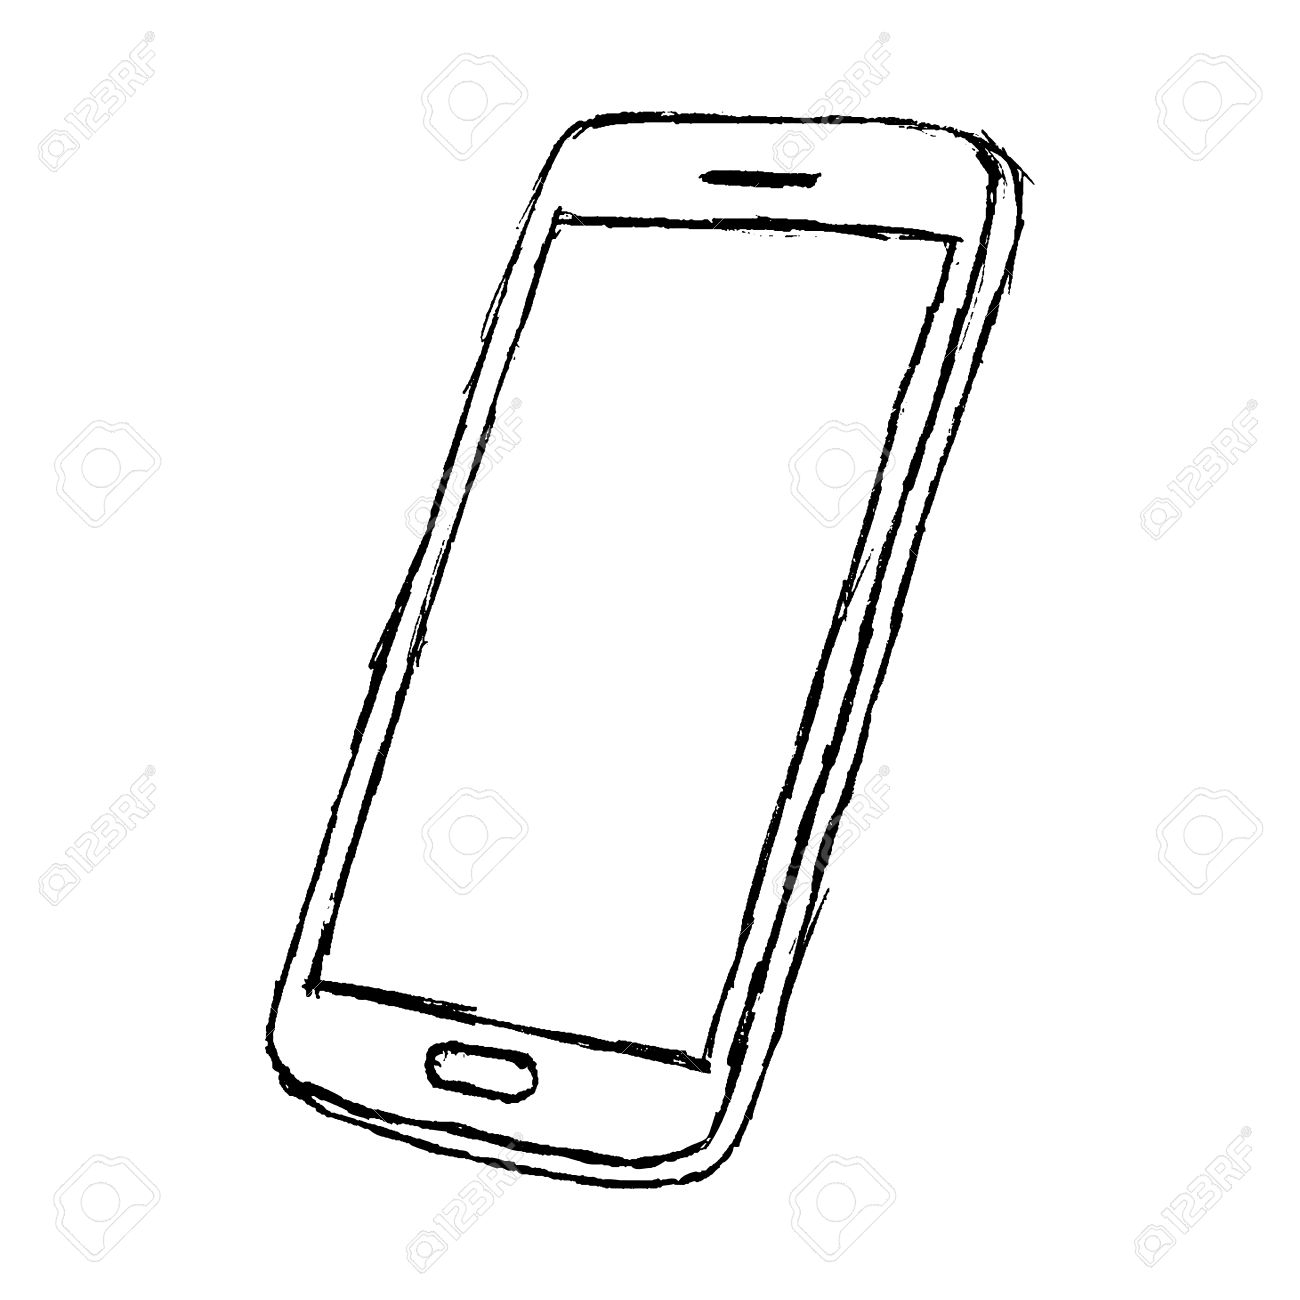
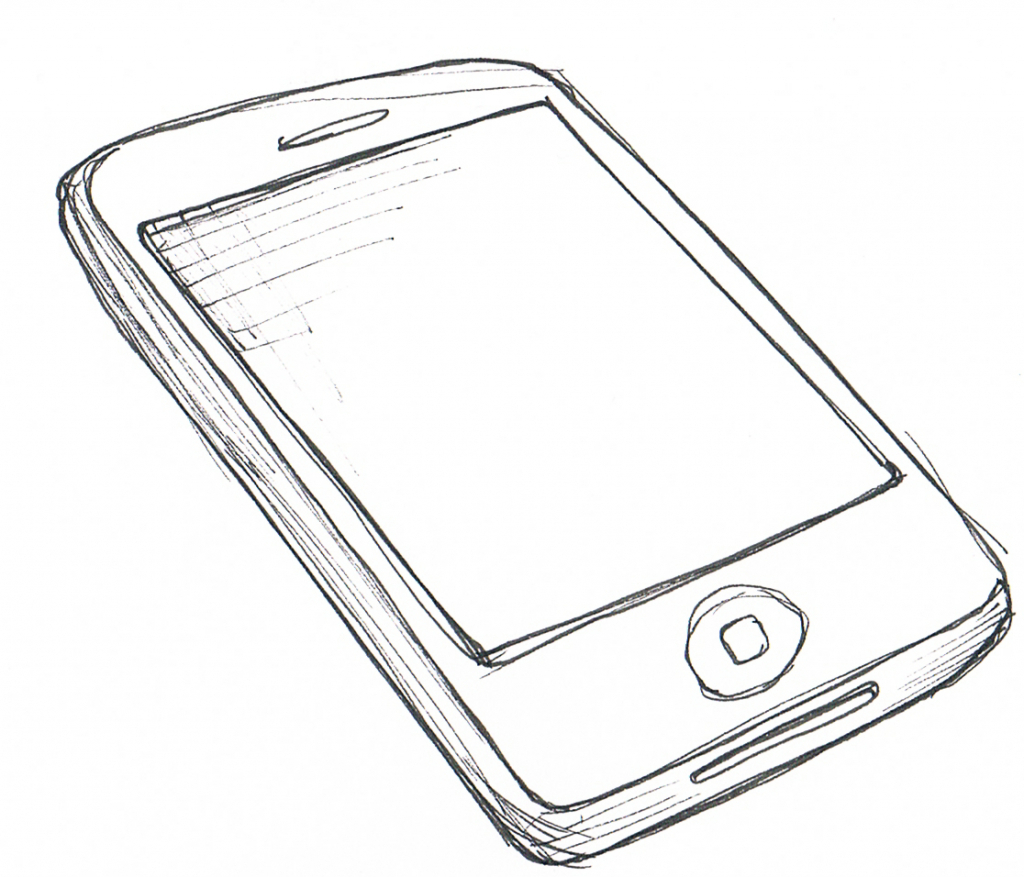
Every drawing starts with simple shapes. For a phone, this means thinking about its overall form first. It is usually a rectangle, after all, that is its main shape, more or less.
Outlining the Main Body
Start by drawing a simple rectangle. This will be the main body of your phone. Do not worry about making it perfect right away; you can refine it later. This first shape just sets the size and general look, basically.
You can use a ruler if you want really straight lines, or you can practice drawing them freehand. Freehand drawing can help you get a feel for the shape and improve your hand control, pretty much.
Remember that phones often have slightly rounded corners. Once you have your basic rectangle, you can gently curve those corners. This small change makes it look much more like a real phone, in a way.
Adding the Screen Area
Inside your main phone body, draw another, slightly smaller rectangle. This will be the screen. Leave a little space between the outer edge of the phone and the screen rectangle; this space is the bezel, you know?
The bezel size can vary depending on the type of phone you are drawing. Some phones have very thin bezels, while others have a bit more space. Pay attention to the phone you are using as your example, if you have one, that is.
This step helps define the most important part of the phone, where all the apps and pictures show up. It is a key element for making your phone drawing recognizable, you see?
Details That Make It Real
Once you have the basic shapes, it is time to add the smaller parts that make a phone look like a phone. These are the things we see every day but might not think about drawing, very much.
Placing the Speaker and Camera
Look at the top of your screen area. Most phones have a small speaker opening for calls. This is often a thin line or a tiny slot. Draw this in the center, near the top edge of your screen, pretty much.
Next, think about the camera. Front-facing cameras are usually a small circle near the speaker, sometimes slightly to one side. Some phones have a notch or a punch-hole design for the camera, so observe your model, too it's almost like a tiny eye.
On the back of the phone, cameras can be more complex. They might be one lens, or several, often in a raised bump or a small square. If you are drawing the back, remember to add these details with care, you know?
Drawing the Buttons
Phones have buttons on their sides for things like power and volume. These are usually small, elongated rectangles. Pay attention to where they are placed on a real phone; they are not just anywhere, after all.
Some phones might have a silent switch or a SIM card tray opening. These are small details but can add a lot to the realism of your drawing. They show that you are paying attention to the actual object, that is.
These buttons give the phone a sense of purpose and interaction. They are small, but they really help the drawing feel complete, in a way.
Bringing Your Drawing to Life with Color
Adding color is where your phone drawing truly starts to look like the real thing. It is also a chance to make it your own, choosing colors that you like or that match a specific phone, you know?
Choosing Your Colors
Phones come in many colors these days: black, white, silver, gold, blue, green, and even purple. Think about what color you want your drawn phone to be. You can pick a classic color or something bright and bold, pretty much.
Consider the screen too. While the screen itself is usually black when off, you might want to show an image on it. If so, think about the colors in that image. This adds another layer of interest to your phone drawing, you see?
Having a color plan before you start applying paint or markers can help you stay organized and get the look you want. It is a good step to take, so it is.
Applying Color to Your Sketch
When you apply color, try to do it evenly. If you are using colored pencils, press lightly at first and build up the color. For paints, thin layers can help prevent a messy look, in a way.
Remember to color the different parts of the phone separately. The screen will likely be a darker shade than the body, for example. The camera lenses might have a different color or a slight shine, too it's almost like a tiny jewel.
Take your time with this step. Rushing can make the colors look uneven or outside the lines. A steady hand and a little patience will give you a much better result, you know?
Making Your Phone Drawing Look More Real
To make your phone drawing go from good to great, you can add depth and texture. This is what gives a flat drawing a three-dimensional feel, basically.
Shading for Depth
Shading helps show where light hits your phone and where shadows fall. Think about where your light source is coming from. Areas facing the light will be brighter, and areas away from it will be darker, pretty much.
Use different pressures with your pencil or varying shades of your chosen color to create this effect. The edges of the phone, where it curves, often have subtle shading. This makes it look less flat, you know?
Our own learning materials suggest discovering techniques for shading. This means practicing how to make smooth transitions from light to dark. It really makes a difference in how solid your phone appears, that is.
Highlighting and Texture
Highlights are the brightest spots where light directly reflects off the surface. For a phone screen, this might be a bright streak of white or a very light gray. These small bright spots can make the screen look shiny and glass-like, in a way.
Think about the texture of the phone too. Is it smooth and glossy, or does it have a matte finish? You can suggest texture with very small marks or by how you apply your color. A glossy surface will have sharper highlights, while a matte one will have softer ones, too it's almost like a different feel.
Adding these small touches of light and surface quality helps your drawing look more like a real object you could hold. It is about paying attention to how light interacts with the phone, you see?
Tips for All Skill Levels
Whether you are just picking up a pencil or you have been drawing for ages, there are always ways to improve and enjoy your phone drawing. Everyone starts somewhere, after all.
For the Beginner Artist
If you are new to drawing, focus on the simple steps first. Do not try to make it perfect on your first try. Just getting the basic shapes and lines down is a great start, you know?
Our tutorials, like the one that shows how to draw a great looking phone with easy drawing instructions and a video, are perfect for you. They break down the process into manageable pieces. You can follow along step by step, which is very helpful, honestly.
Practice often. The more you draw, the better you will get. Do not be afraid to make mistakes; they are part of learning. Every line you draw helps you improve, pretty much.
For the More Experienced Artist
For those who have some drawing experience, you can push your phone drawing further. Try to sketch and shade a smartphone with accuracy and realism, as our online classes suggest. This means focusing on the finer details and how light behaves, you know?
Experiment with different angles and perspectives. Instead of drawing the phone flat, try drawing it slightly tilted or from a worm's-eye view. This adds complexity and makes your drawing more dynamic, in a way.
You can also try adding reflections of things around the phone in the screen. This is a very advanced technique but can make the drawing incredibly lifelike. It shows a deep understanding of light and surfaces, too it's almost like magic.
Frequently Asked Questions About Phone Drawing
People often have similar questions when they start drawing phones. Here are some common ones that come up, you know?
How do you draw a phone step by step?
You begin by outlining the main rectangular body, then add a smaller rectangle inside for the screen. After that, you place small details like the speaker, camera lens, and side buttons. Finally, you can add color and shading to give it depth, pretty much.
What materials do I need to draw a phone?
You will need basic drawing supplies such as a pencil for sketching, an eraser for corrections, and paper. If you want to add color, you can use colored pencils, markers, or paints with brushes. Digital artists will use a stylus and drawing software, you see?
Can beginners draw a realistic phone?
Absolutely! Beginners can definitely draw a realistic phone by following simple instructions. Starting with basic shapes and gradually adding details helps build skill. Practicing shading and highlighting techniques will make your drawing look more and more real over time, in a way.
Your Next Steps in Drawing
Learning how to draw a phone is a great skill to have, and it opens up many other drawing possibilities. You can draw other everyday objects, or even design your own imaginary gadgets, you know?
There are many options for having fun with your drawing skills. Using drawings as the main element, we create different games for different purposes, so you might find new ways to use your art. You can even discover videos related to phone drawing on platforms like TikTok, which can give you more ideas, pretty much.
Keep practicing and exploring new drawing ideas. Every drawing you make helps you grow as an artist. Remember to enjoy the process and see what amazing things you can create with just a pencil and paper, or your digital tools, too it's almost like a new adventure.
Learn more about drawing tutorials on our site, and link to this page for more about art supplies.
For more inspiration, you can check out how other artists approach drawing everyday objects. For example, some artists share their work on sites like DeviantArt, which is a big community for creative people, you know?
Cellphone Drawing at PaintingValley.com | Explore collection of
Flip Phone Drawing at PaintingValley.com | Explore collection of Flip

Phone Drawing - How To Draw A Phone Step By Step

