Mastering Flame Drawing: Your Guide To Capturing Fire's Beauty
Have you ever looked at a flickering campfire or a cozy candle and wished you could sketch that vibrant, dancing light? Well, you're not alone, and it's actually a pretty common wish for many folks who enjoy putting pencil to paper. Drawing flames can seem a bit tough, you know, since fire doesn't really stay still or have one fixed shape or color. It moves around so much, and that's part of its charm, but it also makes it a fun challenge for artists.
It's true, fire is one of those things that artists often find notoriously tricky to capture just right. Yet, if you're looking to find out how to get started with flame drawing, or perhaps improve your current skills, you've definitely come to the right spot. We're going to walk through some straightforward approaches that can make this whole process much, much simpler for you, honestly.
So, if making a hot, fiery flame appear on your paper sounds like something you'd really like to try, then stick with us. We're going to explore some really cool ways to bring that lively, transient nature of fire to life, making your sketches look dynamic and full of spirit, and that's pretty exciting, isn't it?
Table of Contents
- Understanding the Basics of Fire Drawing
- Step-by-Step Guide to Your First Flame Drawing
- Bringing Your Flames to Life with Color
- Exploring Different Flame Drawing Styles
- Top Tips and Tricks for Better Flame Drawings
- Frequently Asked Questions About Flame Drawing
- Ignite Your Artistic Spark
Understanding the Basics of Fire Drawing
Why Flames Are a Unique Challenge
Drawing flames, as we mentioned, can be a bit of a puzzle because they don't have one solid form or a single color that just stays put. Fire is always moving, always changing, and that makes capturing its essence on paper quite a task, you know? It's about getting that elusive, transient feel of fire, showing its accuracy and depth, and really getting its dynamic nature. This means you need a bit of patience and practice, too.
It's a bit like trying to draw water, in a way; it's constantly shifting, and its appearance changes with the light and what's around it. Fire also interacts with light in a very special manner, showing transparency and casting different glows. So, to really get a good flame drawing, you need to pay close attention to these subtle changes, which is pretty much the core of it.
Getting Started with Simple Shapes
The good news is that there are some really simple tricks you can use to make flame drawing much, much easier. You don't have to jump right into a huge bonfire sketch. Instead, try drawing a single, flickering flame first. This helps you get used to using the right shapes and lines that make fire look like fire, which is a great starting point, honestly.
For kids and beginners alike, starting with basic shapes and curved lines is a fantastic way to begin. You can learn to draw a fire that looks great without feeling overwhelmed. Think of it as building blocks; once you get the basic shapes down, you can then add more detail and make it more complex, so it's a pretty logical progression.
Step-by-Step Guide to Your First Flame Drawing
We're going to go through how to make a fire sketch with color and detail, following some straightforward steps and examples. This guide will help you create a stylized or realistic fire sketch, playing with different colors and shapes, and that's really what it's all about.
Sketching the Basic Structure
To begin your flame drawing, start by lightly sketching the basic shape of the flames using a pencil. You want to create a simple outline of the fire's structure. Think of it as a loose, wavy triangle or an irregular teardrop shape, more or less. Make sure it's wider at the bottom and gradually gets narrower as it goes up towards the top, which is pretty typical for how flames appear.
This initial sketch doesn't need to be perfect; it's just a guide. You're trying to capture the general flow and direction of the fire. You know, you can make these lines pretty light because you'll be adding more to them later, and you might want to erase some of these starting marks, too.
Adding Layers for Movement and Depth
To make your fire drawing more realistic, you'll want to add additional layers of flames within the existing structure. This step is really important because it helps create a sense of movement, as fire usually has multiple overlapping sections that dance around. So, you're not just drawing one solid shape, but many smaller, intertwined ones, actually.
Draw another smaller flame shape inside the ones you previously sketched. When you do this, try to keep the lines varied; some can be sharp, others a bit more rounded. As you can see in some examples, we might add two more sharp flickers on the sides of the main flame, giving it that dynamic, restless look, which is pretty cool.
The Final Inner Touches
Now, you'll add the final inner layer of flames. These are usually the brightest parts of the fire, so their shapes are important. Then, you'll use even more curved lines that sort of culminate in a sharp, rounded tip at the very top of your flame. This really helps to shape a realistic flame drawing, giving it that characteristic upward flow, you know.
Remember, the goal here is to show how fire has different sections overlapping and moving. Varying your lines and shapes within these layers makes the flame look alive and gives it that wonderful sense of energy. It's about building up the fire, layer by layer, which is a really satisfying process, too.
Bringing Your Flames to Life with Color
Once you have the basic structure and layers down, the next exciting step is to bring your flame drawing to life with color. This is where the magic really happens, as color helps show the heat and light of the fire, obviously.
Understanding Fire Colors
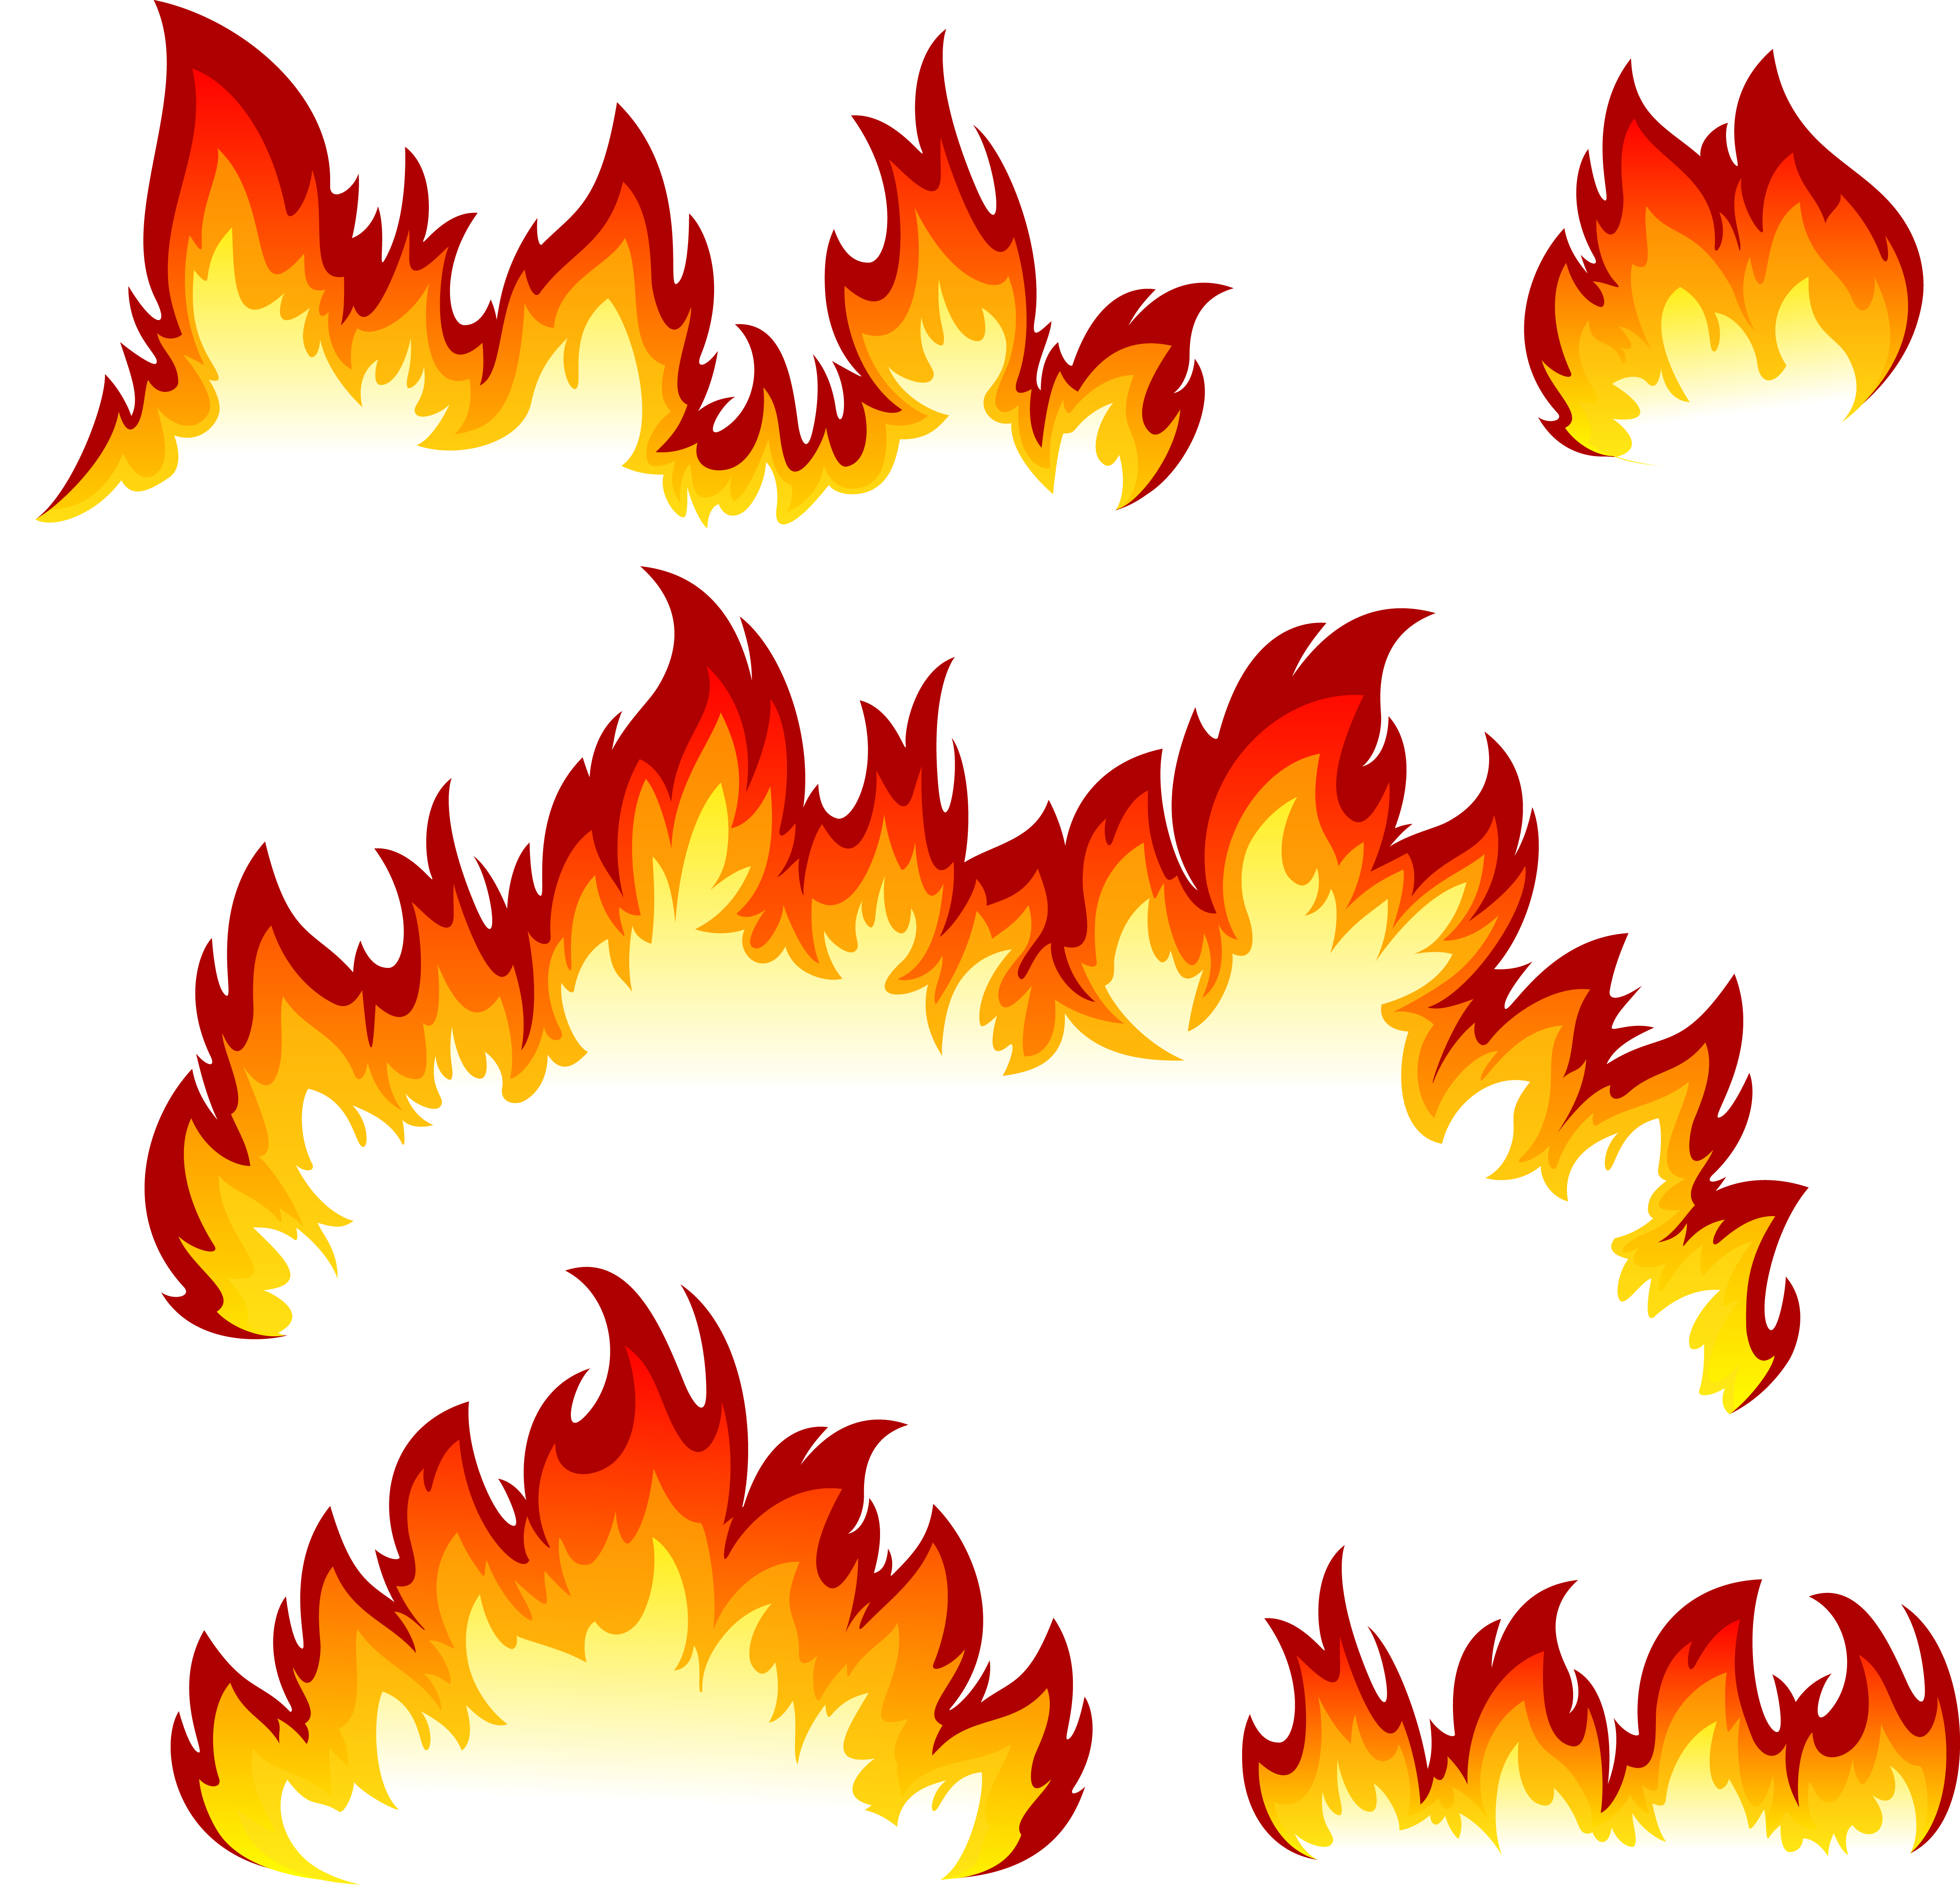
Creating fire colors can seem a bit complicated, but there's an easy guide to it. Fire isn't just one color; it's a mix of yellows, oranges, reds, and sometimes even hints of blue or white at its hottest points. The hottest parts of the flame are typically at the very core and near the base, often appearing white or light yellow. As you move outwards and upwards, the colors shift to orange, then red, and finally a darker, smoky red or even black at the very edges, as a matter of fact.
When you're coloring, think about this gradient. You want a smooth transition between these colors to make the flame look real and vibrant. You know, it's about blending them together so they flow into each other seamlessly, which is a key part of making it look authentic.
Applying Color for Realistic Effects
Learning how to color flames with markers or other mediums is really about layering and blending. Start with the lighter colors, like yellow, in the innermost parts of your flame. Then, gently add orange around the yellow, blending them together. After that, introduce your reds, working outwards, and blend those too. This kind of layering helps create depth and luminosity, seriously.
For more experienced artists, creating outlines of the flames also requires a good grasp of color theory, familiarity with various shading techniques, and the ability to mix and blend colors correctly. But even for beginners, just focusing on that color progression from light to dark will make a huge difference in your flame drawing, and that's a pretty good place to start.
Exploring Different Flame Drawing Styles
Fire isn't just one thing; it appears in many forms and situations, so your flame drawing can reflect that. There are many flame drawing ideas out there, giving you plenty of ways to express your creativity, too.
Stylized Versus Realistic Flames
You can choose to create a stylized fire sketch or a realistic one. A stylized flame might have simpler shapes, bolder outlines, or even unusual colors, perhaps for a cartoon or a graphic design. A realistic flame, on the other hand, tries to capture every subtle flicker and color change, showing the fire's transparency and how it interacts with light, which is pretty detailed work, you know.
Both styles have their own charm and purpose. Learning how to shape a realistic flame drawing involves a bit more attention to detail and color blending, while a stylized flame gives you more freedom to play with shapes and expression. It just depends on what kind of look you're going for, essentially.
Drawing Fire in Different Situations
Consider the context of your flame drawing. A candle flame, for instance, looks quite different from a roaring campfire. A candle flame typically appears against a dark background, making its light stand out sharply. A campfire, however, usually has a lighter background, perhaps with smoke and embers, and its flames are often larger and more chaotic, which is really interesting to observe.
You can learn how to draw flames in different styles and situations, like these two common forms. Focusing on understanding fire's shape, transparency, and interaction with light in these varied settings will really improve your ability to portray it accurately, and that's a skill worth having, honestly.
Top Tips and Tricks for Better Flame Drawings
Here are some quick and easy tips on how to draw flames, from lessons on shapes and colors to a variety of drawing examples featuring fiery effects. These are our top drawing tips and tricks for you, so pay attention, too.
Practice patience: Drawing flames requires patience. It's about capturing something that moves constantly, so don't expect perfection on your first try. Just keep at it, you know.
Observe real fire: If possible, safely observe a real flame, like a candle. Notice how it flickers, how the colors shift, and how the light behaves. This direct observation is incredibly helpful, actually.
Start with light pencil lines: Always begin with very light pencil sketches. This way, you can easily erase and adjust your shapes before committing to darker lines or colors, which is a pretty smart move.
Layer your colors: Don't just put down one solid color. Build up your fire colors in layers, starting with the lightest and moving to the darkest, blending as you go. This creates depth and a natural glow, seriously.
Use varied lines: Fire isn't uniform. Use a mix of sharp, jagged lines and smooth, curved lines to show its dynamic nature and constant movement. This makes your flame drawing look more alive, pretty much.
Consider the background: The background greatly affects how your fire looks. A dark background will make bright flames pop, while a lighter background might require more defined outlines. Think about this as you plan your piece, you know.
Don't be afraid to experiment: Try different drawing tools—pencils, markers, colored pencils, pastels. Each will give your flame drawing a slightly different feel, and that's part of the fun, really.
Get inspiration: Look at examples of flame drawings for different purposes and styles. There are so many ways to draw fire, and seeing what others have done can spark your own ideas, and stuff. You can find more inspiration on how to capture dynamic effects here, which is a good resource.
Frequently Asked Questions About Flame Drawing
Here are some common questions people often ask about drawing flames:
Why is flame drawing so hard?
Flame drawing can feel tough because fire doesn't have a fixed shape or a single color; it's constantly moving and changing. Capturing that elusive, transient nature with accuracy and depth requires patience and practice. It's about showing movement and light, which is a bit different from drawing solid objects, you know.
What colors do you use for fire?
Typically, you'd use a range of yellows, oranges, and reds for fire. The hottest parts, usually the inner core and base, might be white or very light yellow. As you move outwards, the colors shift to orange, then red, and sometimes even darker reds or hints of blue for smoke. It's all about blending these colors smoothly to show the heat, obviously.
How do you make fire look real?
To make fire look real, you need to add layers of flames within the basic structure, which creates a sense of movement, as fire has multiple overlapping sections. Vary your lines, using both sharp flickers and curved shapes. Also, focus on the color gradient, moving from lighter, hotter colors in the center to darker, cooler colors at the edges, and that's pretty key, actually.
Ignite Your Artistic Spark
Learning how to draw flames, whether with basic shapes and curved lines or with markers for vibrant color, is a truly rewarding artistic endeavor. It asks you to pay attention to movement, light, and the subtle shifts in color that make fire so captivating. You know, with these simple tricks and a bit of practice, you can really create your own fire sketches with wonderful color and detail.
We hope this guide has given you the confidence and the tips you need to start or improve your flame drawing skills. Remember, drawing flames requires patience and a good eye for capturing the dynamic essence of fire. So, grab your drawing tools and let your creativity burn bright! You can learn more about artistic techniques on our site, and perhaps even explore other drawing guides for more inspiration, and stuff.
Flame Drawing at PaintingValley.com | Explore collection of Flame Drawing

How to Draw Flames: 14 Steps (with Pictures) - wikiHow

How to Draw Flames: 14 Steps (with Pictures) - wikiHow

